Sunday, August 30, 2009

lightbulbs

Not only was this a small project of mine, I also used this to experiment with blender's lighting and glass materials. Creating the lightbulb head needed glass that was thin and clear and appeared fragile. Making the clear and realistic glass was easy but the thinness was challenging. http://wiki.blender.org/index.php/Doc:Tutorials/Materials/Clear_Glass had very clear instructions on how to build hollow glass.


I have also worked with textures. You might not notice but the bottom of the lightbulb is textured as brushed metal. http://www.tutorialhero.com/click-39868-brushed_metal_in_blender.php gives you very understandble instructions for brushed metal.


The lighting was another important factor. After playing with halos, suns, spots and hemis, I choose lamps. I raised the energy for the lamps very high and enabled filtering for the glasses.

I have done many testing with lightbulbs and have discovered many amazing features. Included here is the render without trashadow enabled. Notice that the glass blocks light from coming through, thus making parts that should be lit otherwise not.


Now here is the finished result with trashadow and a brighter colour. Here, you can clearly see the trashadow enabling rays of light to travel through glass or anyother transparent object. There are several thing I want to improve. I want to apply the light so that the the viewer can see the light spreading through the black void. I also want to use rows and rows of duplicates of lightbulbs behind the original lit one so as to test lighting and refraction of many objects. However, my pc blacks out if I add any more than 6 lightbulbs

I am leaving this project as it is for now but will continue later. Please comment if you have any suggestions, reviews and ideas.

Thursday, August 6, 2009

Building a Aztec Pyramid - Part 1

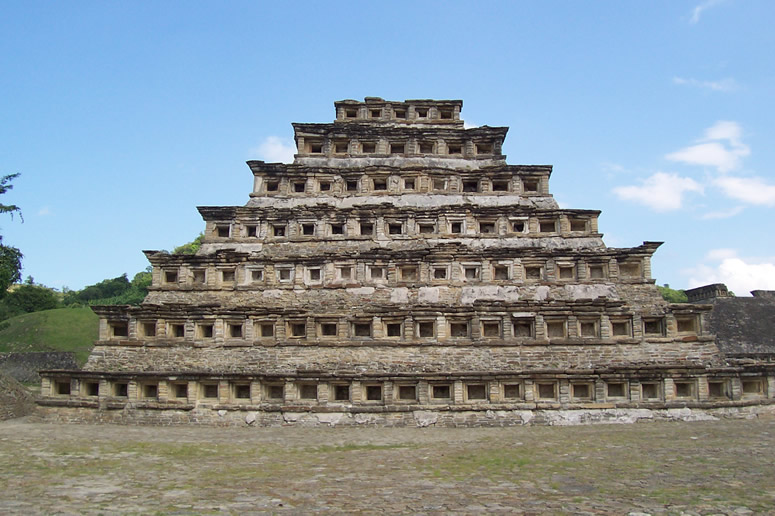
The Aztec pyramid is a marvel of the ancient civilization that once lived in Mexico. Even to this day, the pyramids challenges our own modern architecture. However, 3d programs can recreate one of the best known wonder in little over a hour. Here are some pictures to give you an initial idea of what you're designing.


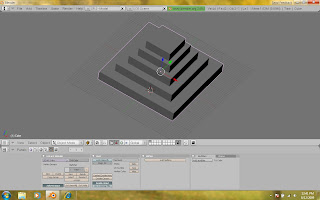
  1. When you open Blender, you should be staring at the top of the default cube. We will use the cube as the base upon which the pyramid is built on. Select and scale the whole cube by 20 units (S - 20). It would be best to now switch to the side view (numpad #3) since the side view is best for editing heights. The base is still too thick so scale the cube in the global Z direction into .12 of its original size (S-Z-.12). Tip: you can drag the base to the desired proportions or you can type in a numerical value. If you want an exact measurement, dragging would take too long. Instead, you could just type it in.


  2. The base is into the ground level so move it upwards by 2.5 units so that it sits on the ground level (T-Grab/Move-Z-2.5). This isn't necessary because the ground level won't be seen when rendering but ,when I am editing, it looks natural for the structure to be on the ground level.


  3. I see these proportions as the ideal base but you're free to change it as you want. Tab into EDIT mode and change the default vertex select mode to face select mode(Ctrl-Tab-3). With this, pick the top face. You might want to change your view to top view for this but remember to change it back when you're done.


  4. Extrude the top face(E) and press enter but take care NOT TO MOVE IT. Left-click to confirm the amount of extrusion. Scale the extruded part (S) by .8 or .75. Now extrude again by 4.5 units in the z direction.


  5. Repeat step 4 approximately 5 times and exit edit mode. Soon, you will have something that looks like an Aztec pyramid.